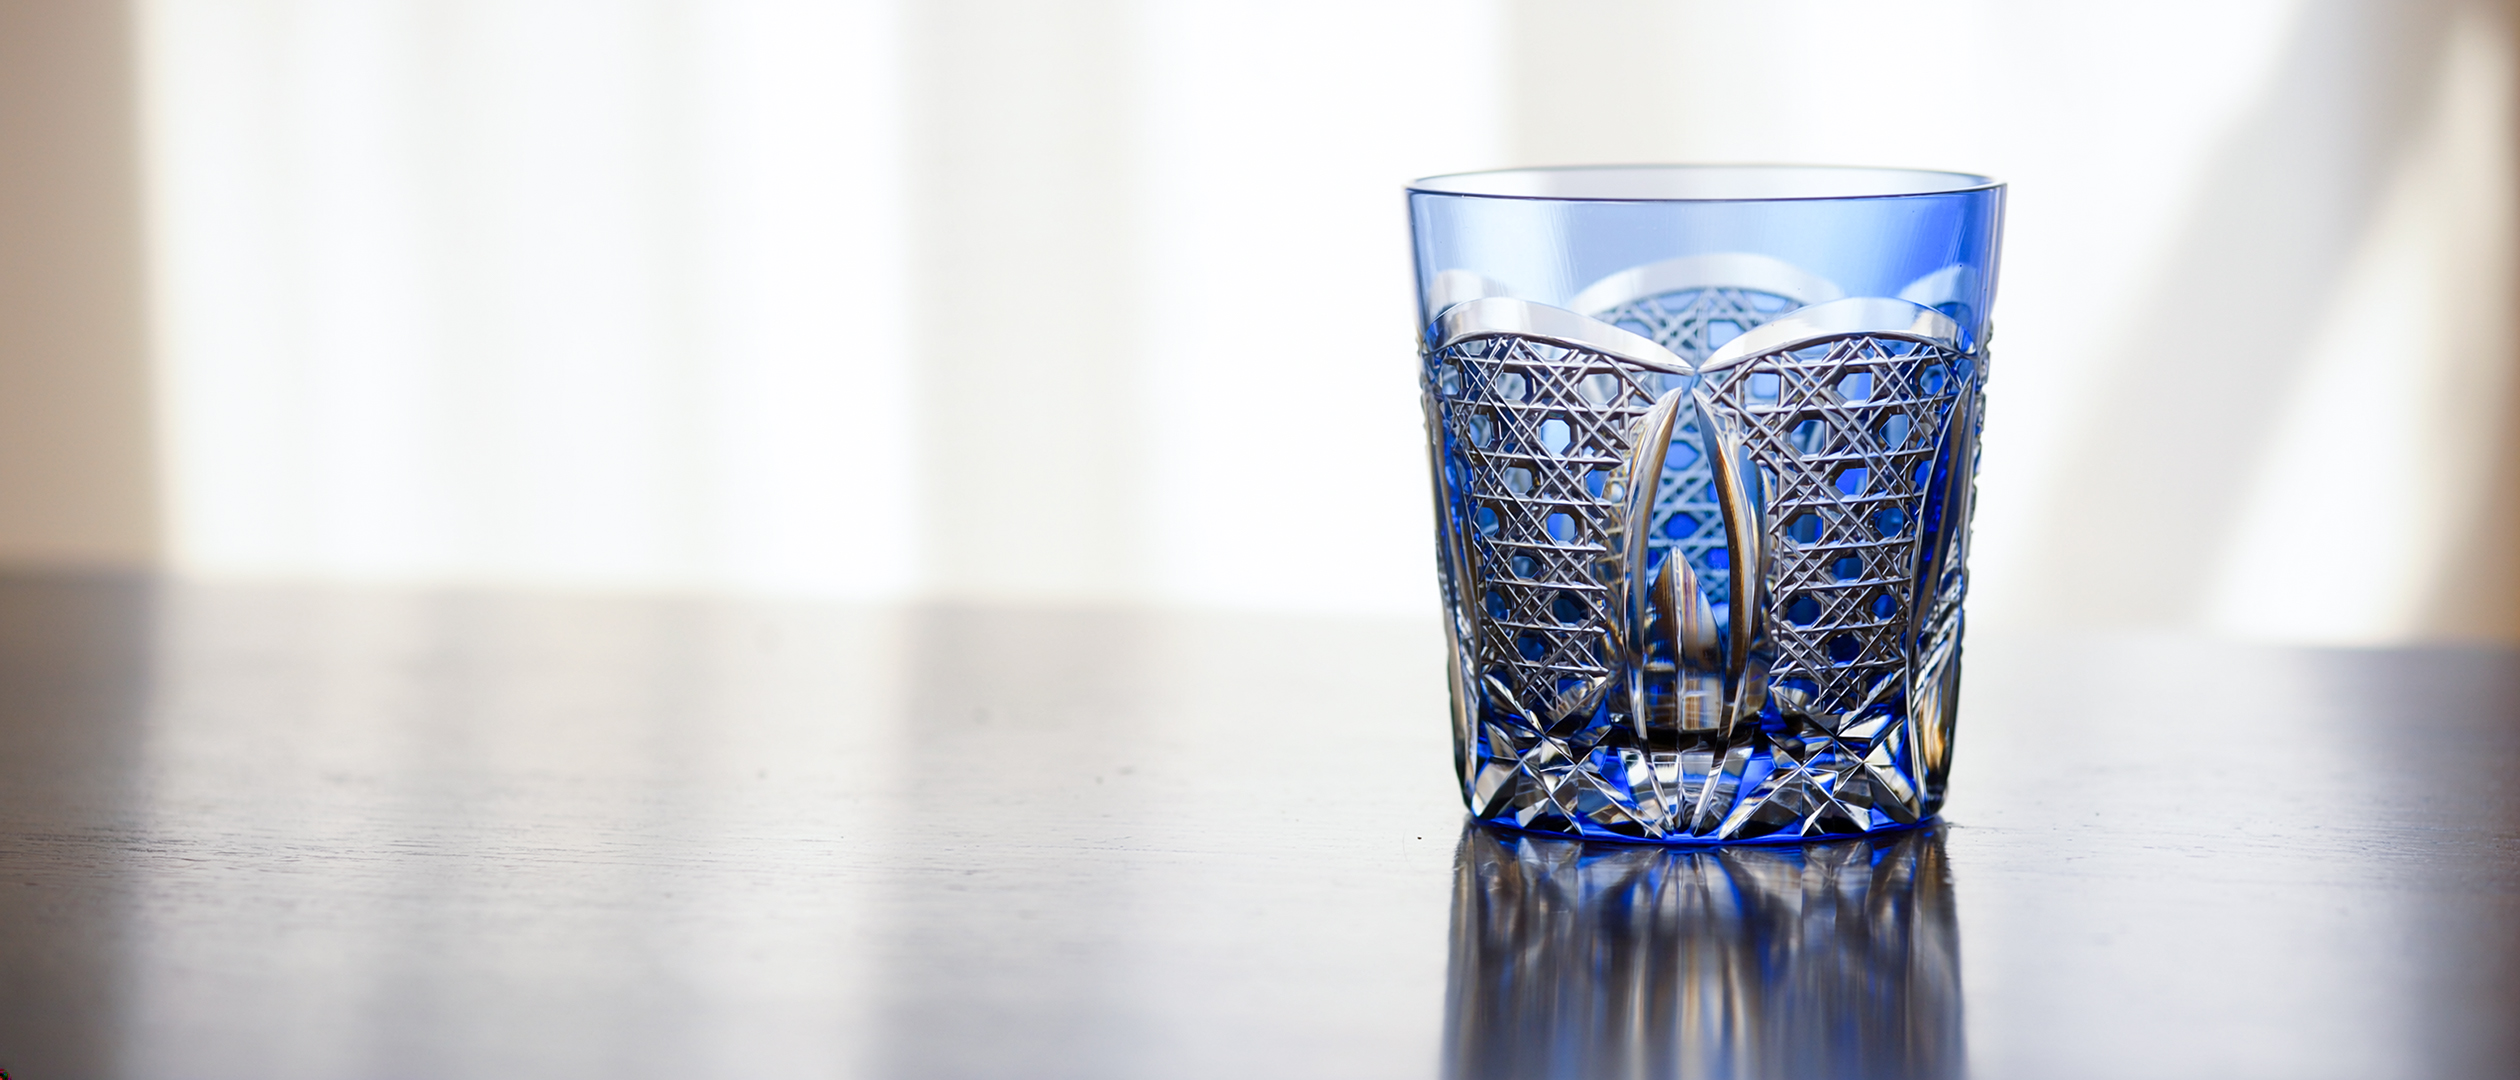
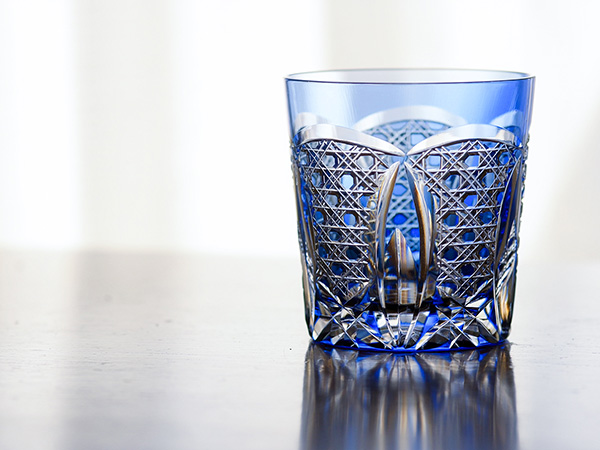
Turn a glass a few degrees, and the light on the table changes with it. Sunlight passes through, catches the cut facets, and breaks into small, shifting patches of shadow across the surface below.
That effect comes from cutting, not painting. Edo Kiriko is a cut-glass tradition passed down in Tokyo, where makers grind and polish patterns directly into the surface of glass. Edo is the former name of Tokyo, while kiriko refers to glass decorated by cutting its surface.
Makers create geometric patterns by grinding grooves directly into glass with rotating wheels and abrasive tools, then polishing the cut surfaces to restore their transparency and shine. This layered material, often described in English as colored overlay glass, is one of the best-known forms of Edo Kiriko today.
On a colored piece, the cutting reveals the clear glass beneath the colored outer layer; on a clear piece, the cut facets catch and bend the light. Either way, the pattern is formed by removing glass itself.
Often seen in rocks glasses and small sake cups, Edo Kiriko also appears in tumblers, plates, vases and other objects. Its patterns are not simply decoration added to the surface. They change how the glass catches light, how color appears, and even how the object feels in the hand.
The origins of Edo Kiriko are generally traced to 1834, during Japan's Edo period (1603–1868). According to the commonly told history of the craft, Kyūbei Kagaya, a glassware merchant in Edo's Odenmacho district, began cutting patterns into the surface of glass using an abrasive material known as kongōsha, or emery.
Glass was already present in everyday life in Edo at the time, appearing in objects such as water pitchers and wind chimes. Early Edo Kiriko developed within this existing glass culture and was primarily made from clear glass, with patterns cut directly into its surface. The strongly contrasting colored glass familiar today became widespread later.
A significant technical development came during the Meiji period (1868–1912), when Japan was rapidly introducing technologies and manufacturing methods from overseas. In 1881, glass-cutting specialist Emanuel Hauptmann, who had been brought to Japan from Britain, began teaching Western cutting techniques at the government-run Shinagawa Glass Factory in Tokyo.
The introduction of rotary cutting tools and more precise geometric cutting methods contributed to the development of techniques that would shape modern Edo Kiriko.
During the early to mid-20th century, domestic production of crystal glass and colored overlay glass expanded. Cutting through a colored outer layer to expose the clear glass underneath gradually became one of the craft's most recognizable visual expressions.
Edo Kiriko was designated a Traditional Craft of the Tokyo Metropolitan Government in 1985 and a Traditional Craft by Japan's Ministry of Economy, Trade and Industry in 2002.
Today, makers continue to work with long-established geometric patterns while also exploring new colors, forms and applications. The result is a craft whose history remains visible not only in formal or commemorative pieces, but in glasses and tableware designed to be handled and used.
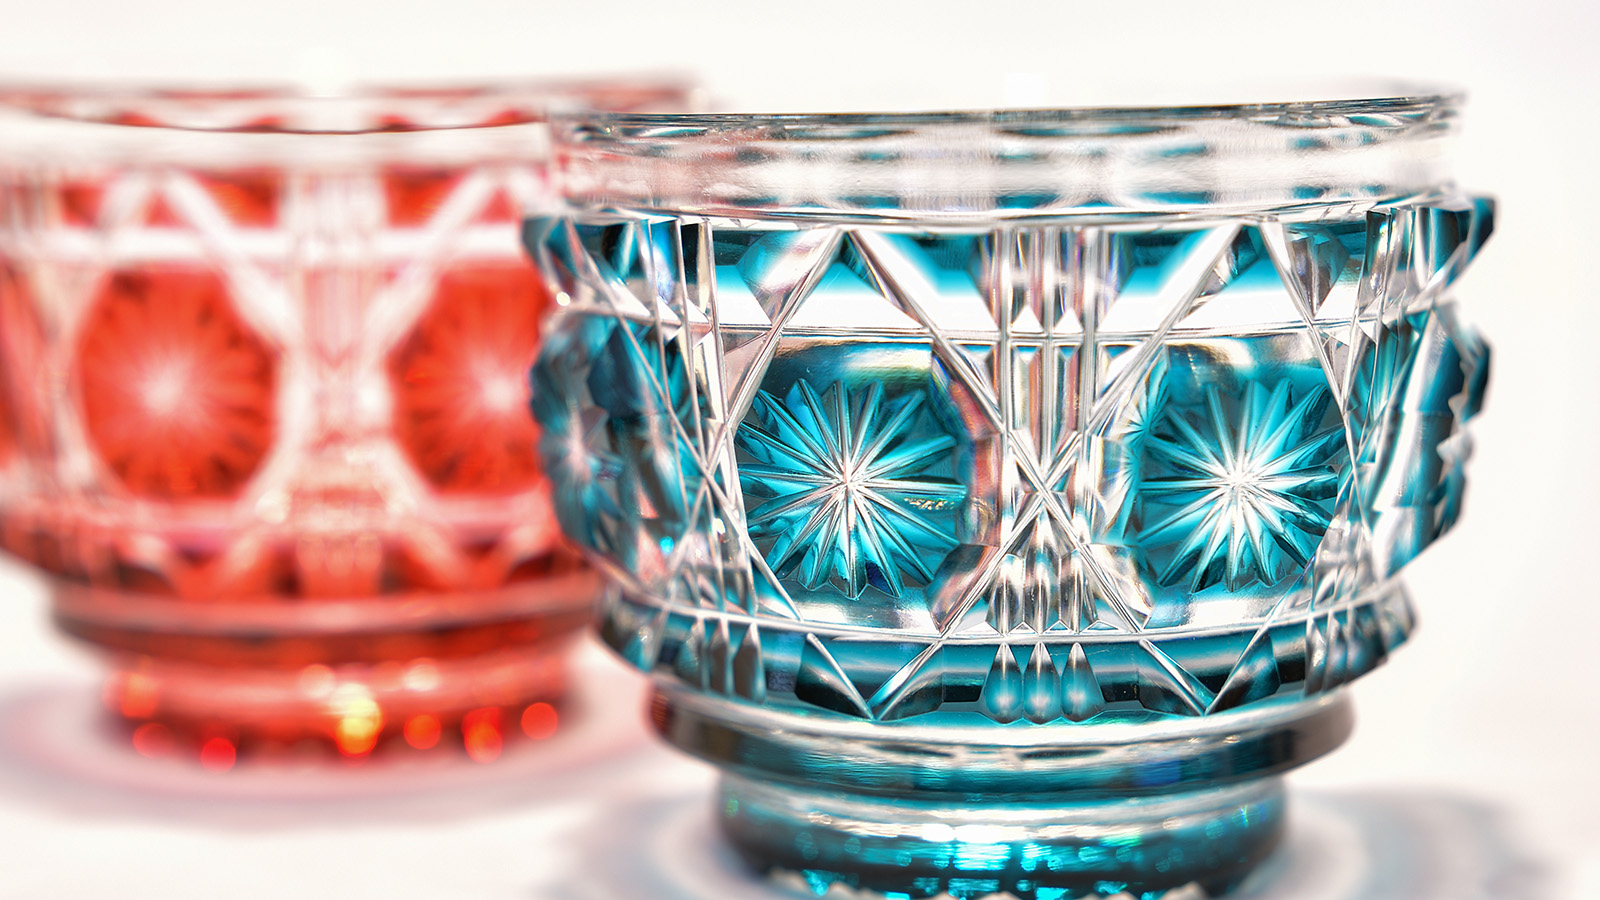
What makes Edo Kiriko distinctive is not simply the presence of a pattern. Cutting the glass changes the way light, color and touch are experienced.
Light Shaped by the Cut
Each groove cut into the glass creates new surfaces and angles. As light enters, reflects from and passes through those surfaces, the pattern can appear brighter or darker depending on where the glass is placed and how it is turned.
Near a window, sunlight may pass through the cut facets and cast small geometric shadows across a table. Add water or another drink, and the interaction between glass, liquid and light can change the pattern again.
The effect varies with the depth and angle of the cutting, the shape and material of the glass, and the position of the light source. It is less a fixed visual effect than something that shifts as the object is used.
Color Revealed by Cutting
On pieces made from colored overlay glass, the pattern emerges by cutting through the thin outer layer of color and exposing the clear glass underneath.
Rather than producing a painted line, the process creates a physical boundary between color and transparency. Seen from different angles, the relationship between those areas changes, particularly once liquid is added to the glass. Colored overlay glass is one of the visual signatures most closely associated with Edo Kiriko today.
Some Edo Kiriko is made from crystal glass, while other pieces use soda-lime glass. Differences in composition can affect qualities such as weight, clarity and sound, which is why these should not be treated as universal characteristics of Edo Kiriko itself.
1. Preparing the Glass
Depending on the maker and production system, the blank may be produced separately before it reaches the cutting workshop. The glass may be clear or made with a thin colored outer layer over clear glass. Materials also vary: Edo Kiriko can be made from soda-lime glass or different types of crystal glass.
2. Marking the Pattern — Waridashi
The maker first establishes reference points and guide lines on the glass. This process is known as waridashi, meaning the division and marking of the surface before cutting. Because a drinking glass is curved rather than flat, the lines must be positioned around its circumference so that repeated elements of the pattern meet where intended.
3. Rough Cutting — Arazuri
The first substantial cuts are made during arazuri, or rough cutting. The maker presses the glass against a rotating wheel to establish the main lines and approximate depth of the pattern. At this stage, the design begins to move from drawn guides to physical grooves in the glass.
The artisan controls the position and pressure by hand, using the marked lines as a guide while also responding to the contact between the glass and wheel.
4. Refining the Cuts — Sanbangake and Hosozuri
After the main grooves have been established, the pattern is refined through progressively finer cutting stages.
Processes known as sanbangake and hosozuri use finer wheels or abrasives to sharpen the lines, adjust their depth and angle, and create more intricate details. Where lines cross, the maker must align the intersections precisely. Rather than relying on a numerical tolerance that applies to every workshop or product, the accuracy is visible in how cleanly the pattern meets and repeats around the glass.
5. Polishing — Migaki
Freshly ground cuts initially appear cloudy or matte. The final polishing stage, known as migaki, restores transparency and shine to the cut surfaces, allowing light to pass through and reflect from the facets more clearly.
6. Final Inspection
Once cutting and polishing are complete, the piece is inspected for the alignment of the pattern, the condition of the cut surfaces and the overall finish.
Because the design wraps around a curved object, the maker is not simply checking individual grooves. The relationship between repeated lines and intersections determines how the pattern reads when the glass is turned in the hand.